
Tips and Tricks eBlast:
Additional Module Edition
Inventory Wardrobe – General Kits
Inventory Wardrobe makes the process of issuing and returning inventory a snap, as it allows a manager to track where inventory is, who it is checked out to, and what is on hand. There are numerous features that allow you to expedite the process of issuing/returning inventory items to Staff or Vendors, including General Kits. You can build your kit for single or multiple positions by navigating to the Maintenance menu and selecting General Kit. From here, you can select the location and create a Kit ID and description (as seen in Image 1 below). After the kit is selected, you can select the items and quantities that should be issued out with the kit. The kit can then be selected from the Issues and Returns screen (as seen in Image 2 below). This helps you issue inventory quickly without having to individually select each item.
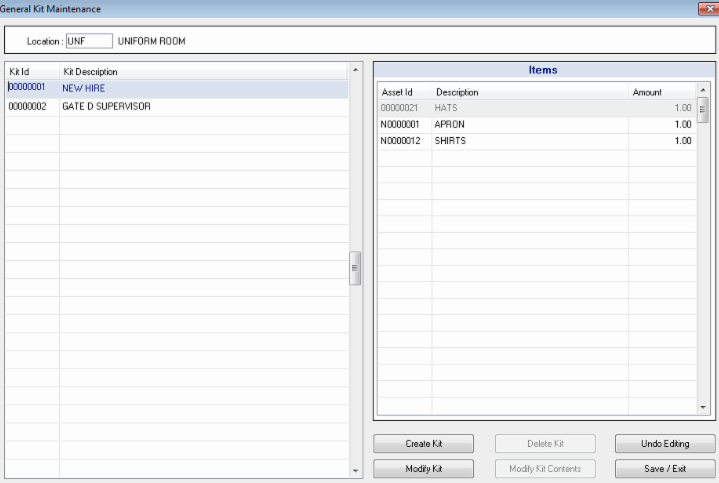
Image 1
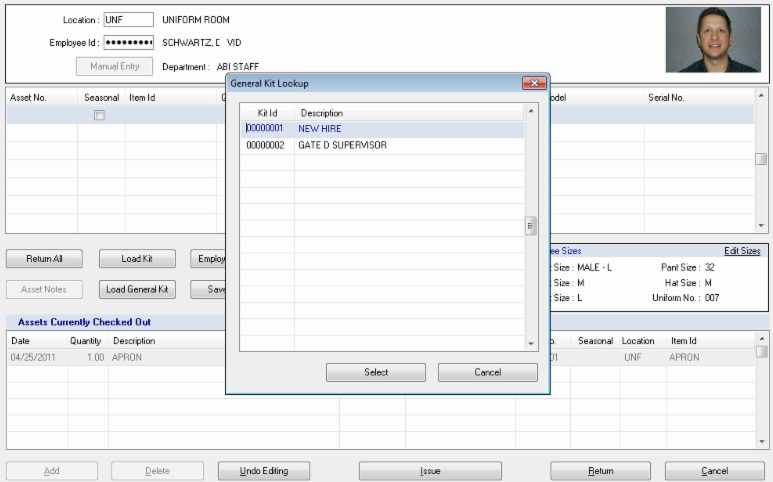
Image 2
Incident Manager – Contact Cards
The Incident Manager module was created to help managers and employees document incidents accurately and efficiently. Contact Cards are an effective way to track information about/from guests. Whether it’s a positive comment about an employee, or reporting an issue, the contact card has multiple areas for documenting information that can subsequently be tracked and reported. To create a contact card, navigate to Contact Card Entry/Edit in the Data Entry menu. Clicking New Entry will start your new contact card; the only required fields are the date and the name of who completed the card. All the other information is optional, the images below provide an example of what a basic contact card may look like (Image 3 and 4).
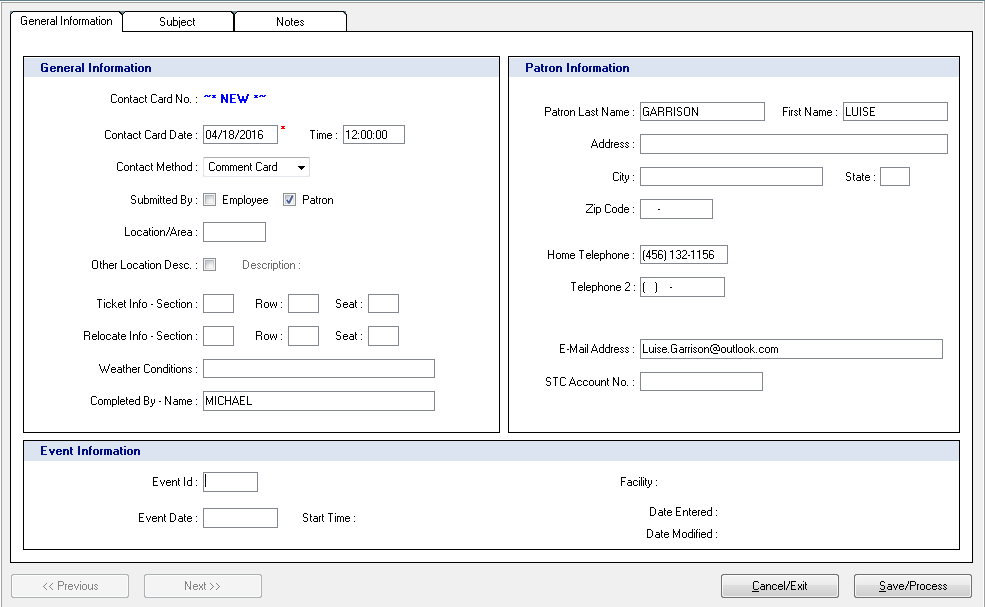
Image 3

Image 4
Meal Manager – One Time Meal Ticket
If you provide free meals or discounted meals to any of your employees, vendors, or guests, the ABIMM Meal Manager will help you track, apply, and restrict those meals per your specific rules. Meals can be redeemed using employee’s credentials, or by using one time meal tickets. One-time meal tickets are easily created with the Create One-Time Meals option in the Assignments menu (Image 5). You only need to specify where they are charged back to, either a Department or a Vendor, utilize one of your Meal Events, and specify a designated Meal. You can also add the name of the recipient, a comment, and print out multiple tickets.
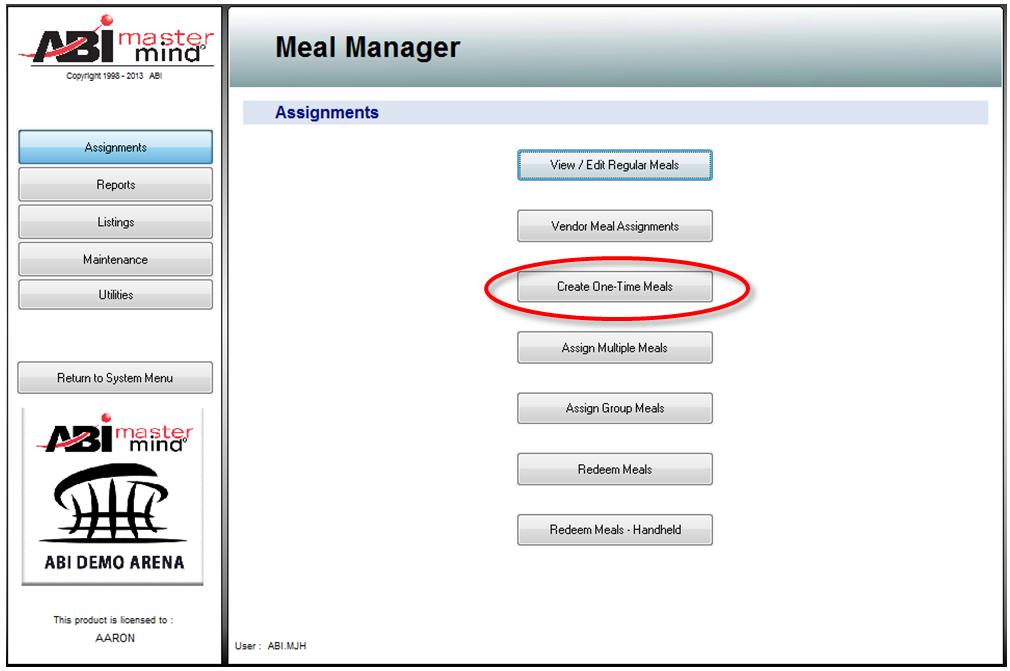
Image 5
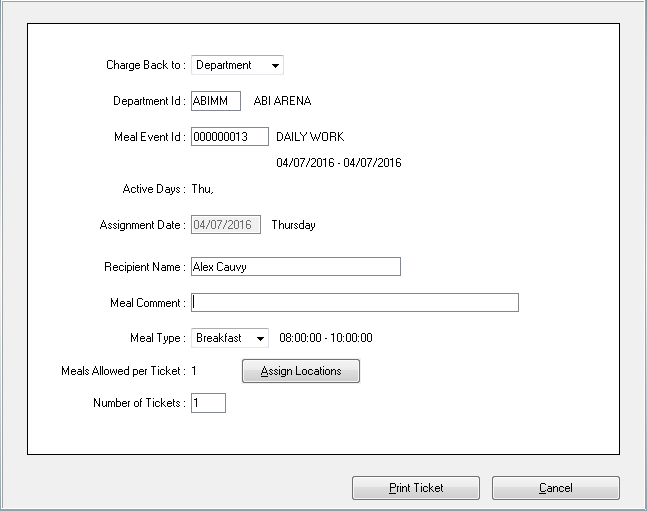
Image 6